As someone who’s been living in small apartments for a while now — in both Nashville and New York City — I’ve become well acquainted with making the most out of minimal spaces. The key is in the details! You have to find the perfect balance of filling your space without over-cluttering it.
So, we’ve compiled a few holiday DIYs that you should try this season that will help you utilize your space without sacrificing the holiday cheer!
Door and doorway decorations
Not everyone has a fireplace, a living room, or even windows for that matter. But one thing everyone does have is a doorway! Even studios have at least one door or open archway to the kitchen or bathroom.
This is the perfect place to start when doing your holiday decorating. However many doorways you have to experiment with, there are that many options and more for you try! You could alternate between sparkling twinkle lights and luscious garlands, and hang paper snowflakes or nestle Christmas ornaments into the garland. Or you could tie a small bunch of mistletoe up with a pretty ribbon and hang it from the center of the doorway, and add some sprigs of holly at the corners to frame the display. You are only limited by your imagination — don’t be afraid to be original!
And don’t forget the doors themselves! Create a decorative front or back door using wrapping or construction paper, ribbons, markers, glitter, and even small Christmas decorations, themselves. You can create a magical gingerbread house, Santa’s toy shop’s front door, a “wall tree” for your door, or an image of Santa getting stuck going down the chimney. The sky’s the limit when it comes to your creativity!
Wall Christmas tree
We briefly touched on these in our Top 10 Tips & Tricks for a More Sustainable Holiday Season blog a few weeks ago, and here we provide some instructions!
As much as we all would love to have a 3D tree with all the fixings, sometimes our space just doesn’t allow it. A wall Christmas tree allows you to still have that big-tree display without taking up much space. Some of these wall trees are quite realistic, too, when you look at it head on. All you need is to do is choose some strategic, empty wall space and assemble a generous supply of gorgeous garland and your favorite lights and ornaments — or change it up and decorate it with something unique!
First, outline the shape you want your tree to follow on the wall — painters tape is a good choice for that — and don’t forget to include the base of the tree, or you won’t have a place for the presents. Secure your garland with your favorite no-damage tabs or mini hooks in a zig-zag pattern running down from the top of your tree to the bottom. The garland can come pre-lit, or you can add the twinkle lights yourself (it’s easier if you twist the lights around the garland before hanging). Then, you can decorate with ornaments, or just top it with a classic shining star or Christmas angel (or whatever your favorite festive tree topper happens to be)! Leave brightly colored presents under your “tree” to complete the effect, and Santa Clause, himself, will be impressed!
If you’re really low on wall space, you can use a door, instead, but be sure to pick one that doesn’t get too much use (like a hallway closet) to ensure your ornaments don’t get damaged or fall off!

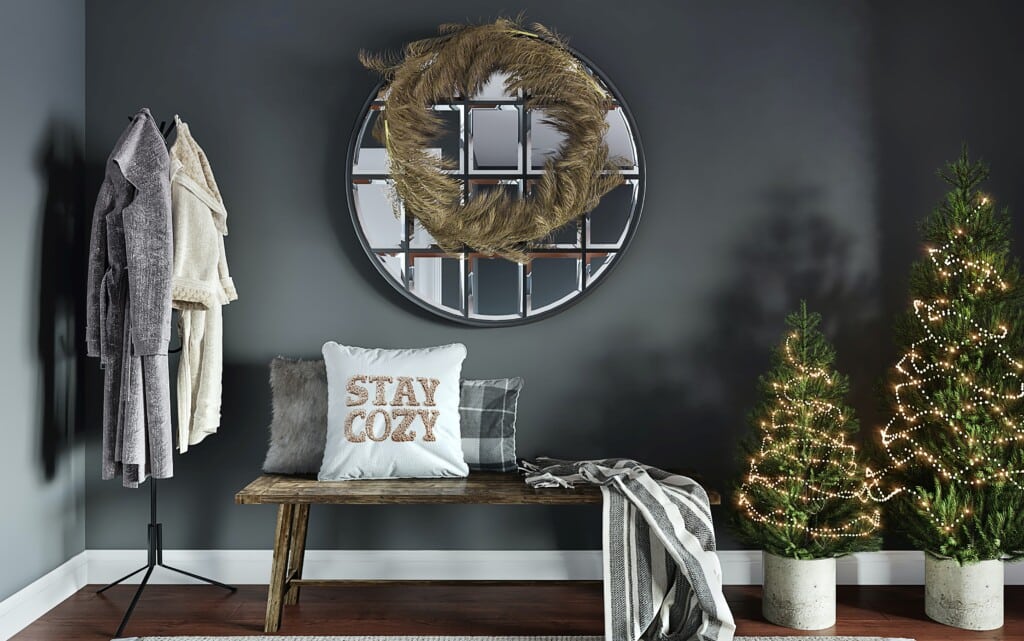
Cozy holiday corner
All of us city folk long for the cozy homeyness of a fireplace, especially around the holidays. Unfortunately, our small apartments hardly allow the space for even a tiny electric version — let alone the dreamy large, brick ones with a hearth we can sit on!
However, you can create your own cozy corner by hanging a canvas close to the ground and painting your own fireplace. You can go all out with color or just use black and white for a more simplistic feel. There are lots of examples online — choose which you want to try based on your skill level and aesthetic.
While this corner certainly isn’t the same as a fireplace, you can spruce it up by adding some comfy blankets, holiday pillows, a place for your book or iPad, and floor cushions. You can even hang your stockings from the “mantel” and add a mini tree for the ultimate Christmas flair. You may find it very difficult to leave your new holiday haven!
The best part about this corner is you can keep it as a cozy reading nook all year long! You can decorate it differently for each passing season or holiday, or just let your favorite, most meaningful mementos gather there permanently.

Little “trees”
When it comes to decorating the surfaces of your home, you’re going to want to choose simple accents that bring charm (but don’t overpower your space) — like these little, minimalist “trees”!
Collect some small, yet sturdy tree branches from your local park and spray paint them white (or a similar neutral color). Put them in a clear bottle or jar (or container of your choice), and decorate them with a few simple tree decorations (like miniature ornaments, tinsel, or even glitter applied with glue). You can use regular (mini) decorations or pick other objects that are found in nature — like pinecones or berries — to give it a more natural, rustic appearance.
You’ll have to be careful not to overdress your “trees,” though. A bulb or two with a small bit of tinsel is more than enough. You’re going for a simple and elegant look here — anything too extravagant will overwhelm their natural beauty and pleasing lines.
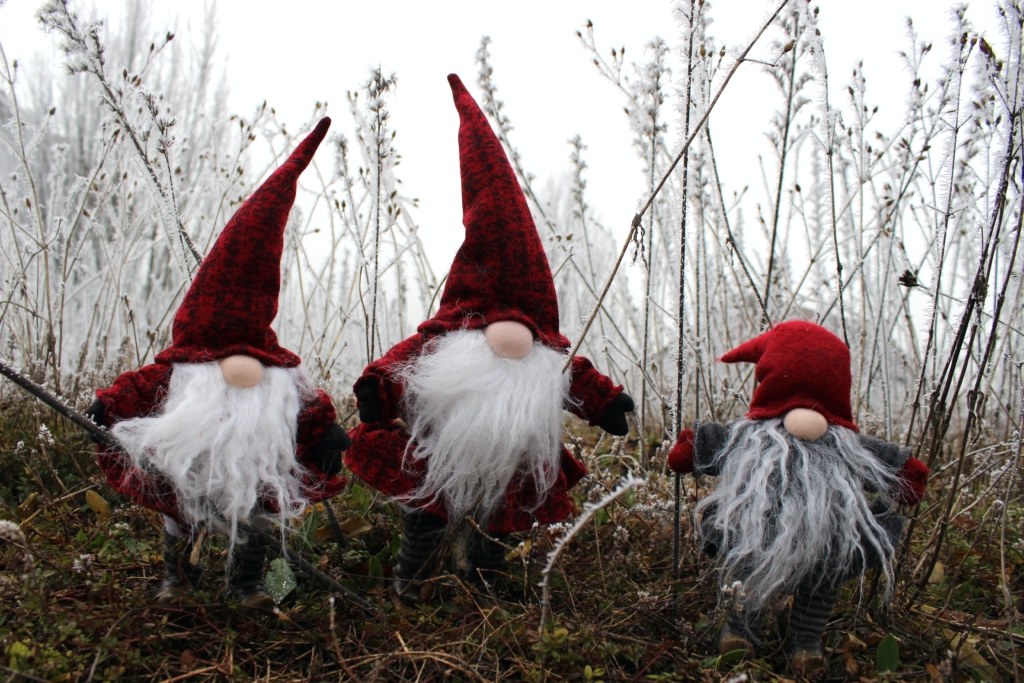
Make your own Christmas gnomes
These cute little gnomes offer another way to decorate your tables, desk, or bookshelves — and they are really easy to make! You just need a clean, plastic bottle, a bit of fabric and felt, a little fiberfill, a cute wooden bead large enough for the nose, and of course, your trusty hot glue gun.
Fill (or mostly fill) some clean plastic bottles with water or sand, for example (there are endless things to use, from ceramic pie weights to pennies), to ensure your gnome stays standing upright. Then completely wrap each bottle in a colorful fabric — this craft project works best with thinner fabric. Secure the fabric around the bottle with hot glue, twine, or even rubber bands, trimming off the excess.
Now for the hat, take some felted fabric and cut a triangle with slightly rounded corners — the base should be about 11” wide and the height approximately 9”. To make the hat, apply glue to one of the 9″ side edges, then wrap the fabric into a cone shape and press the two 9” sides together to make them stick. Set it aside.
Using pillow stuffing (like Fiberfill) and hot glue, create a long beard that trails down the front of the bottle, tapering at the end — you want to start the beard close to where the hat will be, leaving a spot for the nose. Then, glue on the hat and the nose — and that’s it!
You can play around with different colored fabrics and patterns, try different beard shapes and thicknesses, try different bottle sizes, or create a gnome for each member of your family! If you vary the size of the bottles, you could create your own gnome village. They could even live under your wall tree!
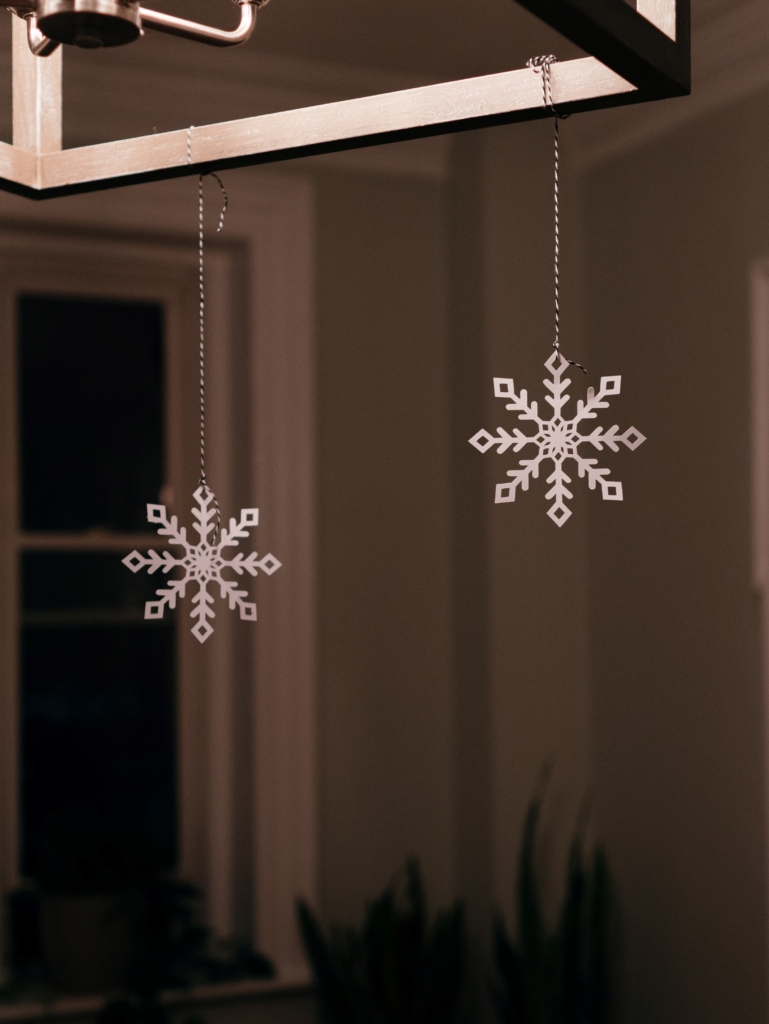
Ceiling snowflakes
If you’re living somewhere where it hardly ever snows (or you just want to bring the flurries inside where it’s warm) then use paper snowflakes to create your own snowstorm! This is a super fun craft to try with the whole family — you may remember making these paper snowflakes, yourself, when you were younger.
You’ll want to start with a stack of blank sheets of paper — white is the standard, but you can make colorful snowflakes, if you’d prefer! Fold the paper diagonally, and trim off the excess paper at the bottom to make a square. Fold your existing triangle in half, then again into thirds to make a very narrow triangle shape. You can start by drawing a pattern first, or just start cutting your design free hand. You could even put a little glitter on them so they sparkle like snow in the sun!
It’s so quick and easy that anyone can do it — even loved ones who aren’t very artistic. Just like real snowflakes, each paper snowflake design is meant to be unique. Feel free to experiment to find the designs you like best, and then hang your new creations using ribbons or twine from your ceiling to create the illusion of snowfall.
These snowflakes are probably best suited for smaller areas (like short hallways or near your front door), but if you really love the snow, go ahead, hang them from any ceiling you like. You could also decorate your windows with them! Then, enjoy the snow and stay warm and toasty inside!
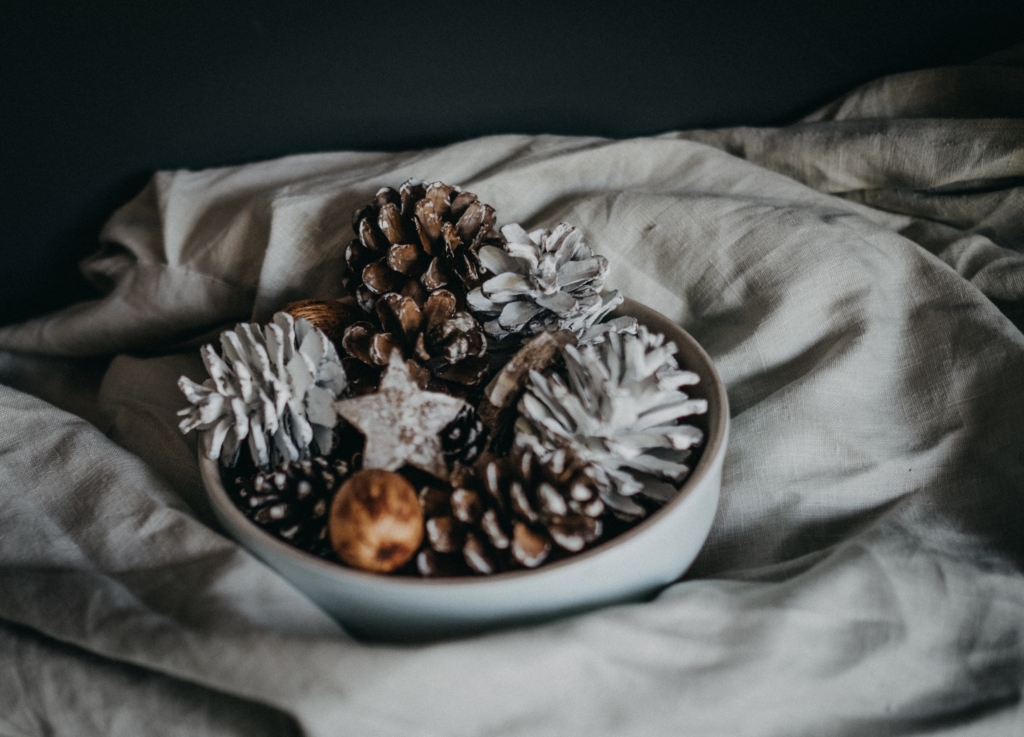
Make your own Potpourri
As much as I love living in the Big Apple, the city, itself, reeks. You want to come home to an apartment that smells good — even more so during the holidays! Making your own potpourri is an easy, effective, and bespoke way to keep your home smelling incredible — without the use of chemicals.
If you read our Celebrating Celtic Mabon blog back in September, you’ll know that making your own potpourri is simple. You can use dried fruits, flowers, and other items found in nature to create an aesthetically pleasing bowl of winter goodness! The key when crafting is to choose scents you love that compliment and balance each other.
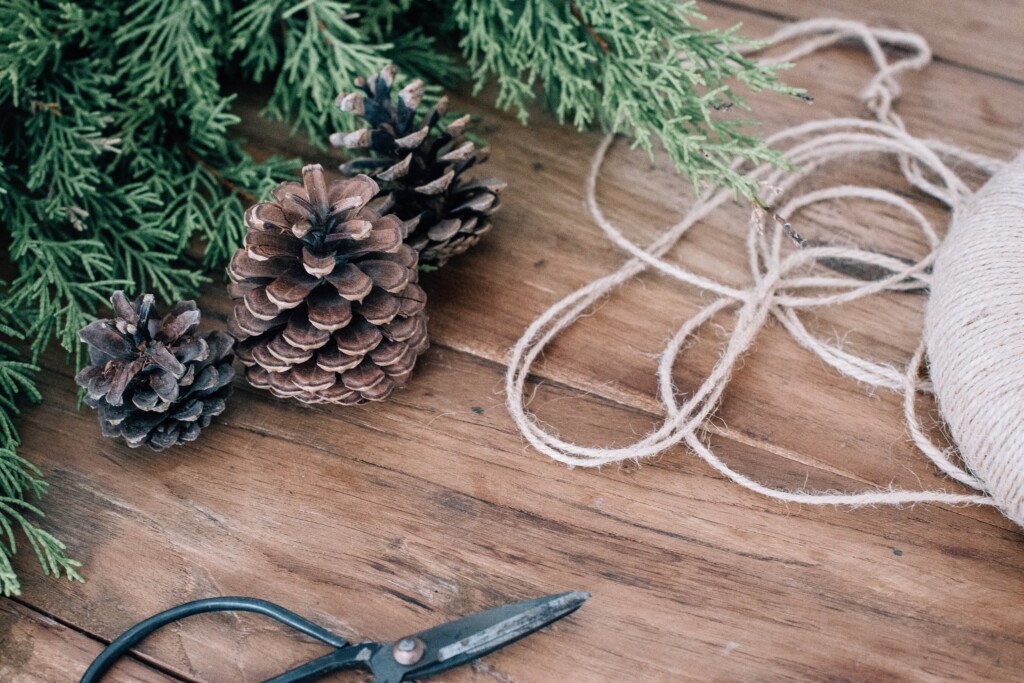
This winter, cinnamon and cloves are a must. You can pair them with dried fruits, like oranges and apples, for a full-fruity flavor — and don’t forget to add some pinecones from your yard to complete the look!
If you don’t have time to get a bowl of potpourri ready, but you still want to naturally give your home a fresh and festive aroma before your guests arrive, you can take a shortcut by boiling water, oranges or lemons, and cinnamon sticks on your stove. Your home will smell like a cozy winter wonderland in minutes!
Make your own scented candle display
Here’s another way to keep your home smelling scrumptious over the holidays — all you need is a small, terracotta pot with a saucer, coffee beans, mulling spices, and a vanilla or cinnamon scented tea light.
First, you’re going to want to paint your terracotta pot to give it a festive flair. How you decorate your pot is up to you, and it’s one of the most fun parts! You can paint it a soft pink base color and decorate it with small holly leaves or apply mistletoe decals, or a pastel green base paired with tiny Christmas tree decorations, or even a baby blue base with miniature snowmen — it’s a good idea to try out different combinations on paper before you commit to a design.
Once your pot is dry, fill it to the brim with a mixture of coffee beans and mulling spices. You can buy pre-made mulling spices or create your own! Most spice bags around this time of year include a mix of cinnamon, cloves, nutmeg, allspice, and orange or lemon peels. Make sure you put your pot on its saucer before pouring in your coffee beans and spices to ensure that none of them spill out of the hole in the bottom!
Then, nestle your tea light in the center — and voila! You’ve made your own scented candle display. The heat from the tea light combined with the mulled spices and fragrant coffee beans are sure to fill your home with a strong, cheery holiday scent.
Be sure to share with us your holiday DIYs on Instagram (@rogue.ramms). We’d love to see what you come up with!
Happy decorating!!