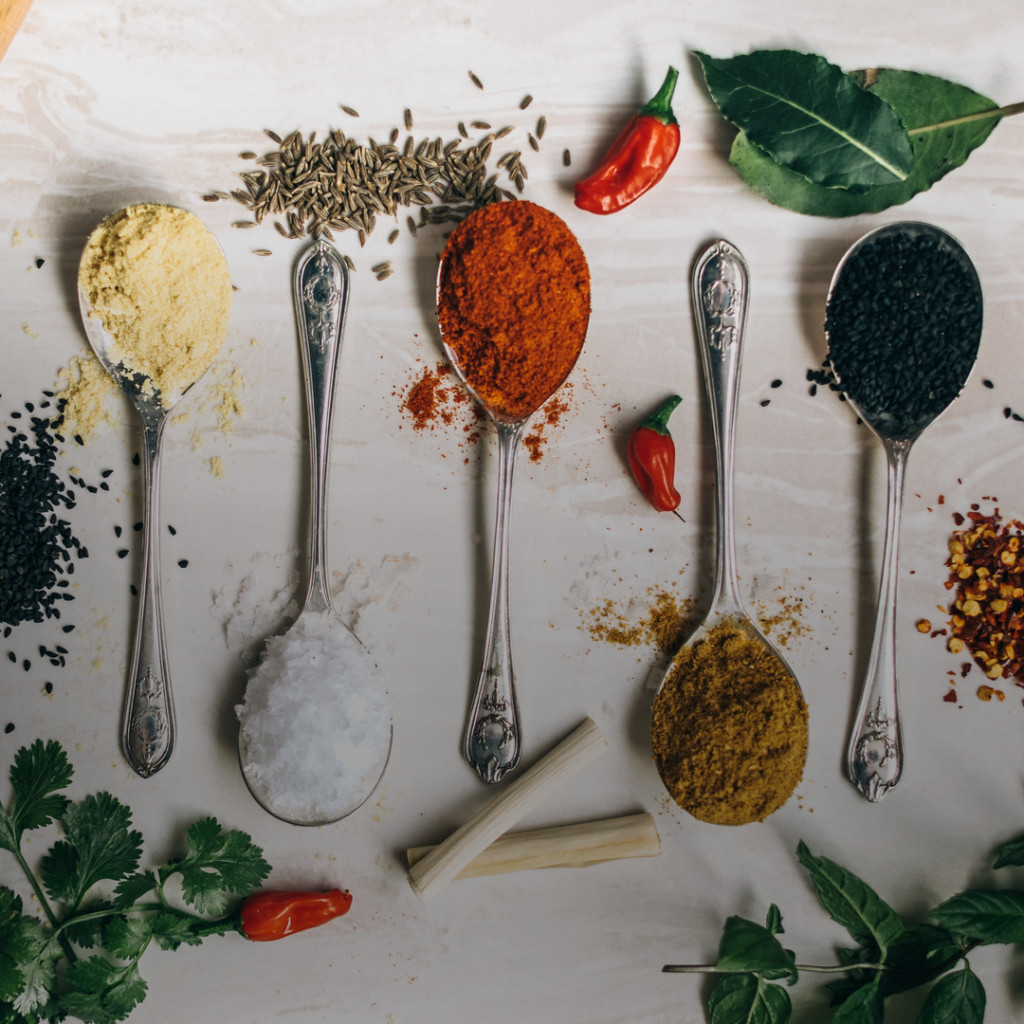
Using fresh herbs when cooking adds so much more flavor to your dish, but buying store-bought herbs can add up quickly, and you almost never actually end up using everything. And don’t even get me started on the amount of plastic waste we can accrue when we’re constantly having to buy fresh herbs every week or two!
The solution is simple. Why not just start your own herb garden? It’s actually a lot easier than you may think.
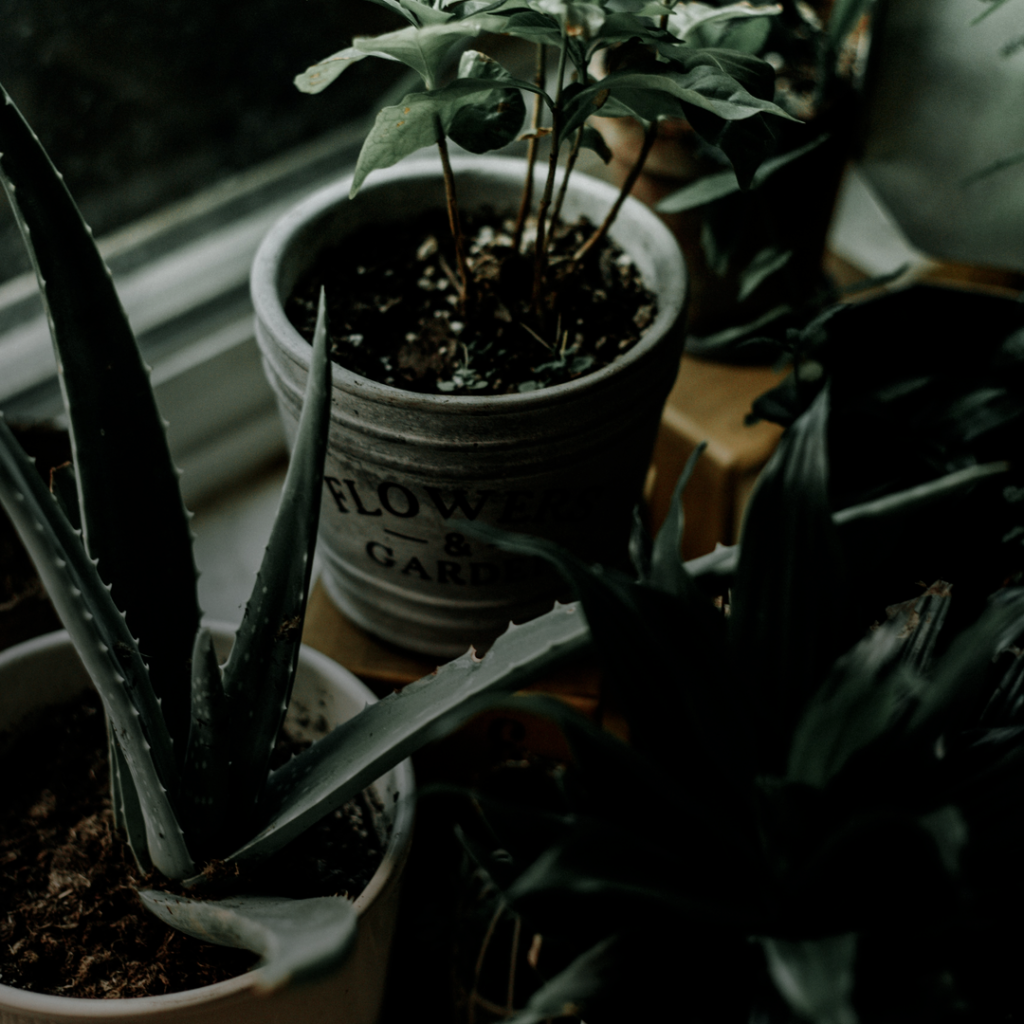
You don’t need a big garden out back. In fact, you can start your own herb garden right in your apartment! All you need are some pots, a few seeds, and a healthy amount of light to get you started, then the rest is up to you.
Don’t forget to customize it to suit your taste and space!
Don’t believe me? Well, we’ve broken down how to create your own simple herb garden in just three easy steps!
Step 1: Find a spot
You’re going to want to choose a spot that guarantees your herbs will get plenty of sunlight. Typically, you want them to receive 4 hours of direct sunlight at bare minimum, but ideally you want to aim for closer to 6-8 hours of direct sunlight. Depending on the herb, the more sunlight they receive, the better. And this isn’t just for the health of your plants, but their flavor as well. Herbs grown in strong, bright light typically have a stronger, fuller flavor than those that aren’t.
So, while the kitchen may be the most convenient room for you to plant your garden, it may not be the best space for your herbs.
I know it can be tough with apartments, but try to secure a south-facing window for your garden to ensure it gets the most sunlight possible. If you don’t have one, then an east- or west-facing window will do well enough, depending on the herbs you’re hoping to grow. You can check the sunlight requirements of each once you decide which herbs you want to grow.

If you live in a place where not much natural sunlight reaches inside, don’t worry! You can still grow your own herb garden. You can invest in some man-made fluorescent LED lights. This also goes for those of you who really want your herb garden in your kitchen, but don’t have the adequate natural light. However, keep in mind when using artificial lights that you’re going to want to give your herbs closer to 8-12 hours of direct light to promote healthy growth!
The good news is there are plenty of options for you to choose from! Make sure the lights you purchase offer the kind of spectrum that features a combination of red and blue light. These colors are key to the photosynthesis process and help your herbs grow strong and healthy. Most grow lights made specifically for gardens will have these already built in, but you always want to be sure to double check, just in case.
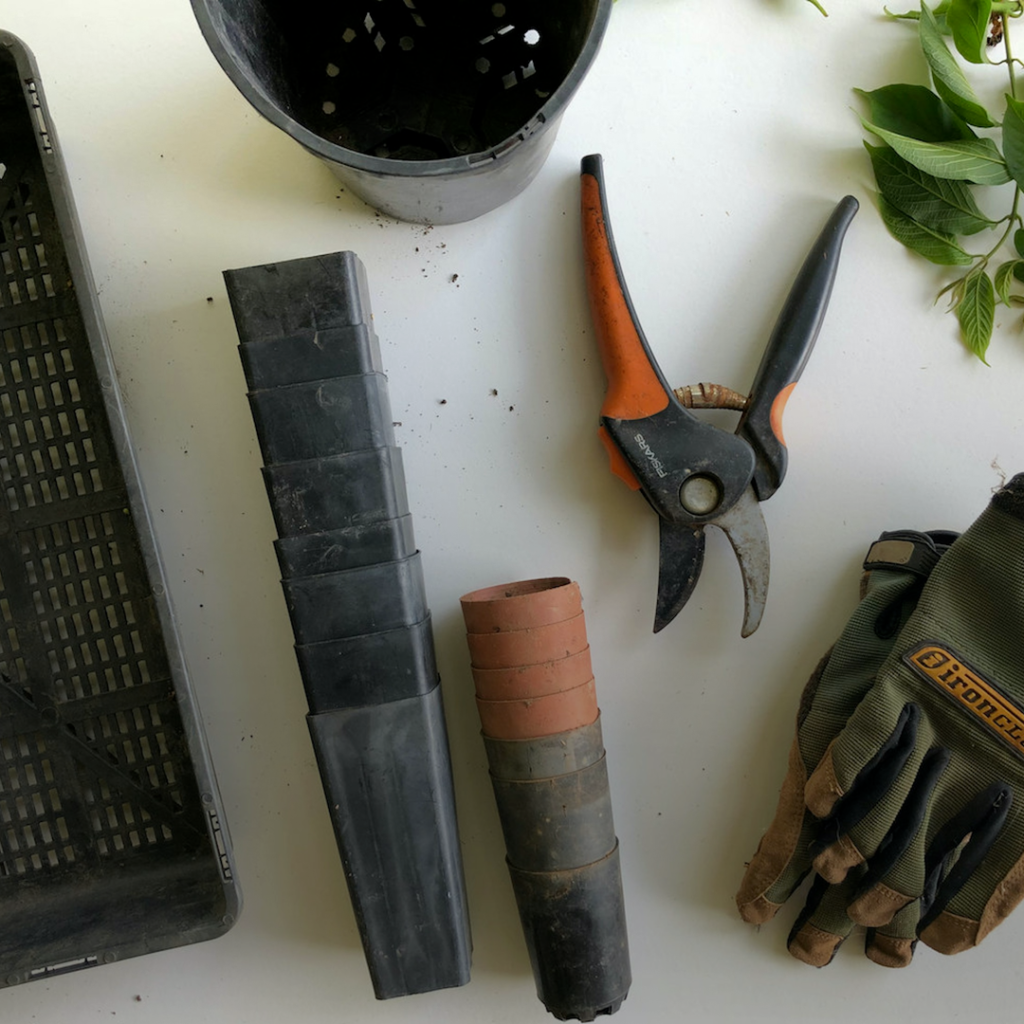
Step 2: Pick the planters
There are plenty of fancy planters out there offering built-in irrigation systems or planters that fertilize and self-water your herbs for you! If you’re someone who’s constantly busy or forgetful and willing to invest the cash, then planters like this are a great option. However, for those of us who’d rather keep things simple and tackle the garden the old-fashioned way, there are plenty of cheaper planters to choose from.
The best materials for your indoor pots are terracotta, wood, or ceramic, but you can use plastic, glass, or porcelain, as well! The size and depth of the pot is going to depend on which herbs you grow, but typically 4 ½ inches is a good baseline to start with.
Now, in case you haven’t read my previous blogs, I’m based in New York City. I know how important it is to utilize all the space in your apartment. So, if you don’t have room on your windowsill (or don’t have a windowsill at all), don’t panic! There are ways to work around that.
Try looking up! Hanging planters may be the way to go if you have space near your window or on the wall opposite your windows. Another good option? Plant stands that allow you to stack your plants vertically, conserving as much space as possible. If they’re in the way of each other, just make sure you stagger the placement of your herbs to ensure they still get the appropriate amount light!
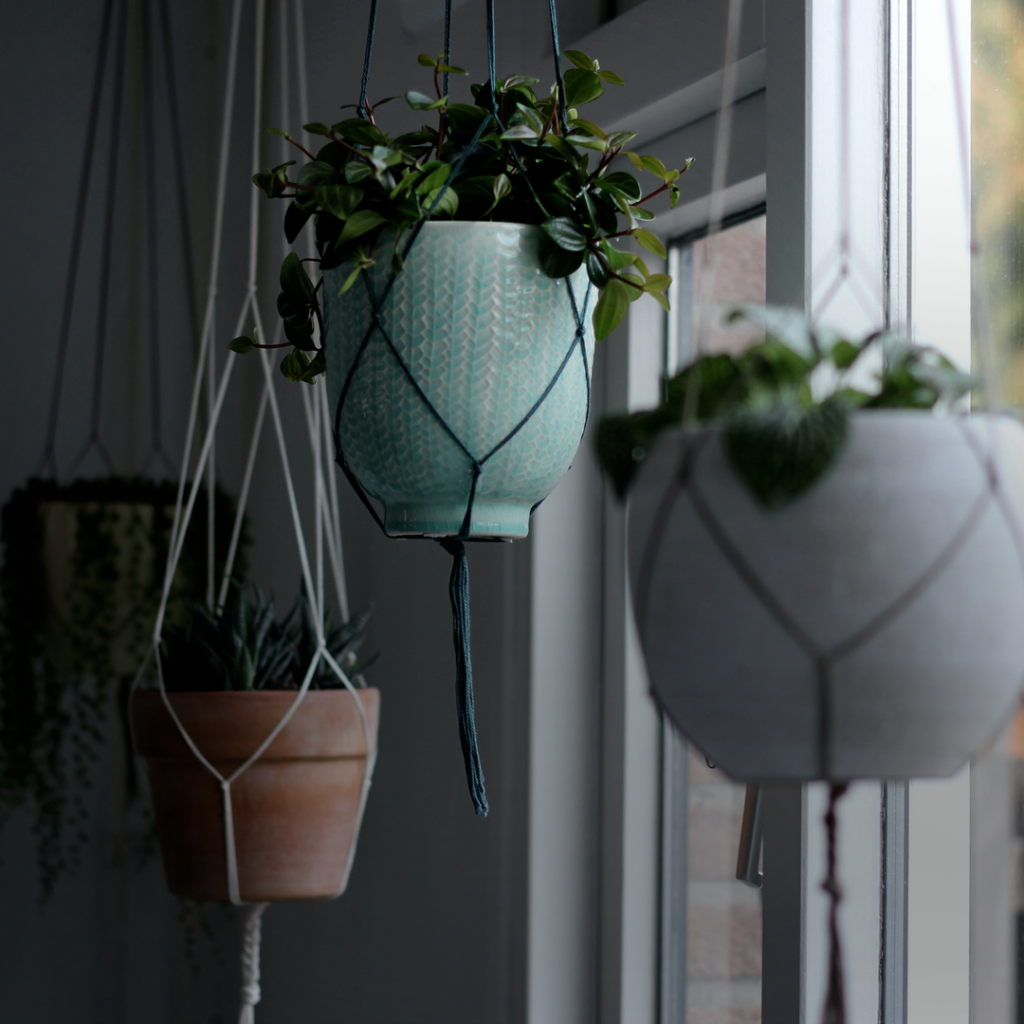
If you’re opting for a smaller herb garden, you can even invest in a suction cup window shelf. These ideal space savers are great for light-weight plants and work well to keep herbs out of reach from any furry friends who enjoy knocking things over.
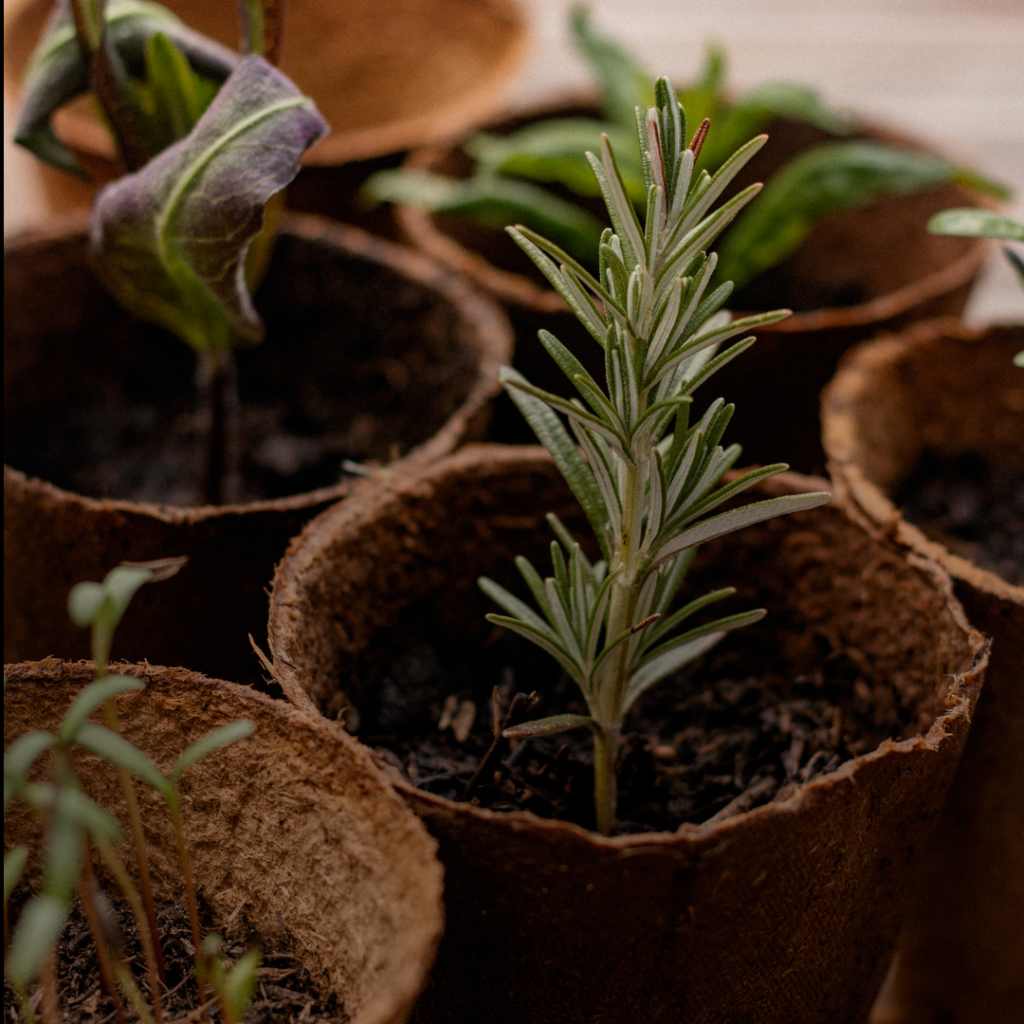
If you’re someone who’s all about creative, homemade projects, you can use glass mason jars, tea tins, old wine bottles, or even lotion containers to craft your own planters! Herbs don’t do well in standing water, so if you decide to go the DIY route, you’ll want to make sure you add plenty of holes to the bottom of your makeshift “pots” for the water to filter through the soil.
And we can’t forget the saucers! In order to minimize mess and protect your space, always be sure to keep a small saucer or tray under each pot or planter to keep any excess water or soil contained.
Step 3: Choose the herbs best suited for you
Of course, the best herbs to grow will be different for everyone. You’re going to want to choose the herbs that you like to cook with and will use most often. You’ll also want herbs that are suitable for your apartment’s growing conditions.
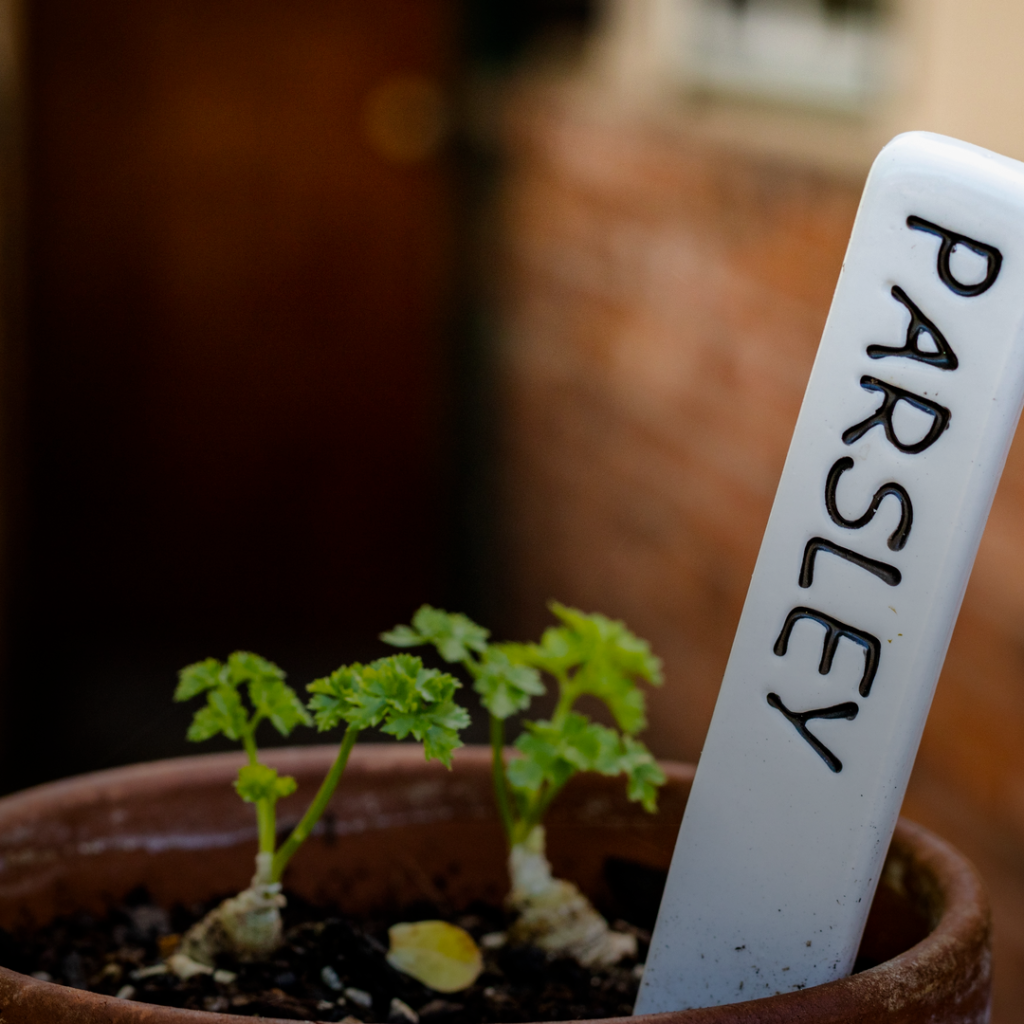
Parsley, mint, and chives are all great herbs for places that don’t get a lot of natural sun and are relatively easy to grow and maintain. Parsley likes to be kept in slightly cooler temperatures, and mint requires its soil to be moister than most and rotated regularly. Chives like humidity and circulated air. They can take a little longer to grow and, like mint, require very moist soil to thrive. All these herbs tend to grow quite rapidly, so — unless you have plenty of counter or windowsill space — you may only want to choose the one you’ll use most frequently to prevent overcrowding.
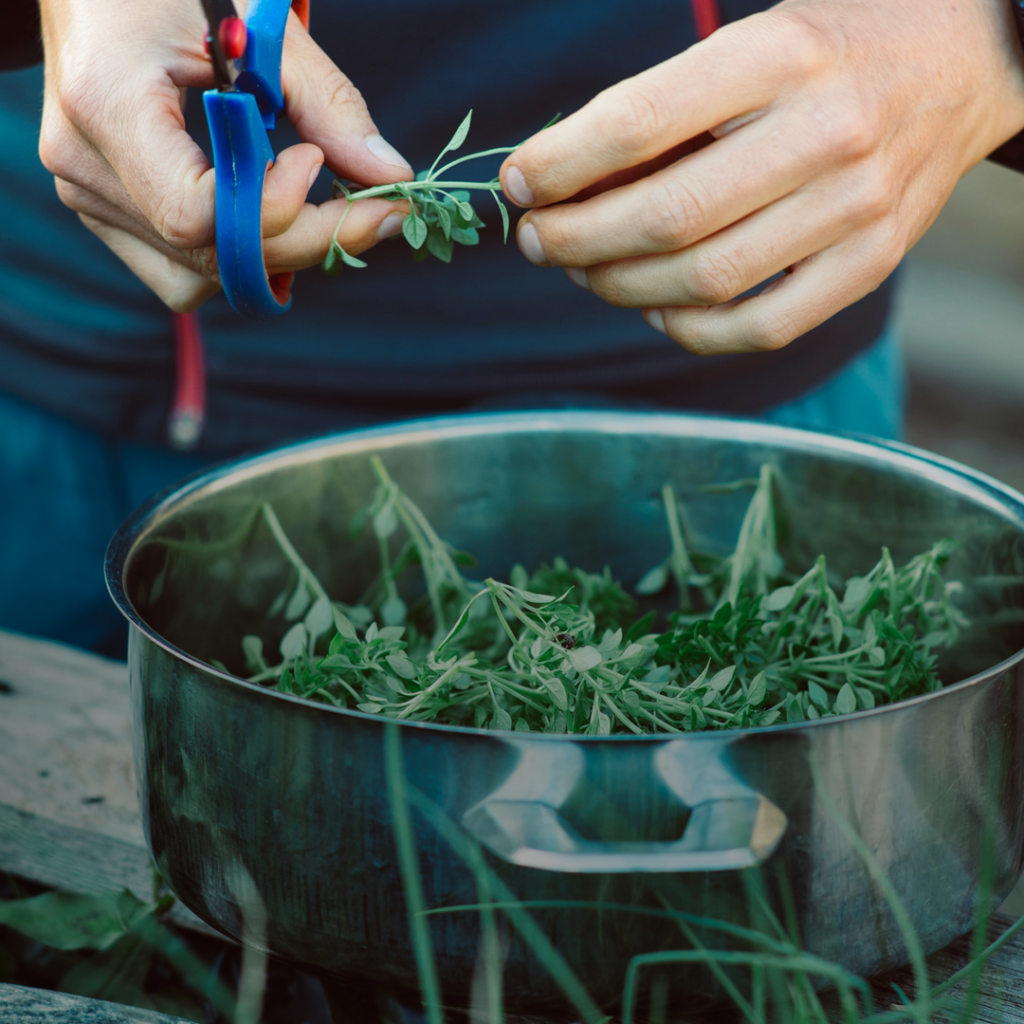
Cilantro is a powerful herb that adds a flair of zesty flavor to a wide variety of Mexican and Asian dishes. This herb is one of the quickest to sprout and can be harvested in as little as 3-4 weeks! As this one will get a little spindly as it “reaches” for the light, be sure to pinch it at the growing tips to encourage a fuller plant. It’s a great herb to get you started and help build up your confidence before you tackle the more persnickety ones.
Oregano is another pantry staple, but one that’s slightly more finicky. It needs plenty of sunny, bright light to achieve its fullest flavor and doesn’t need to be watered as much as other herbs. Be sure to check the soil to prevent overwatering!
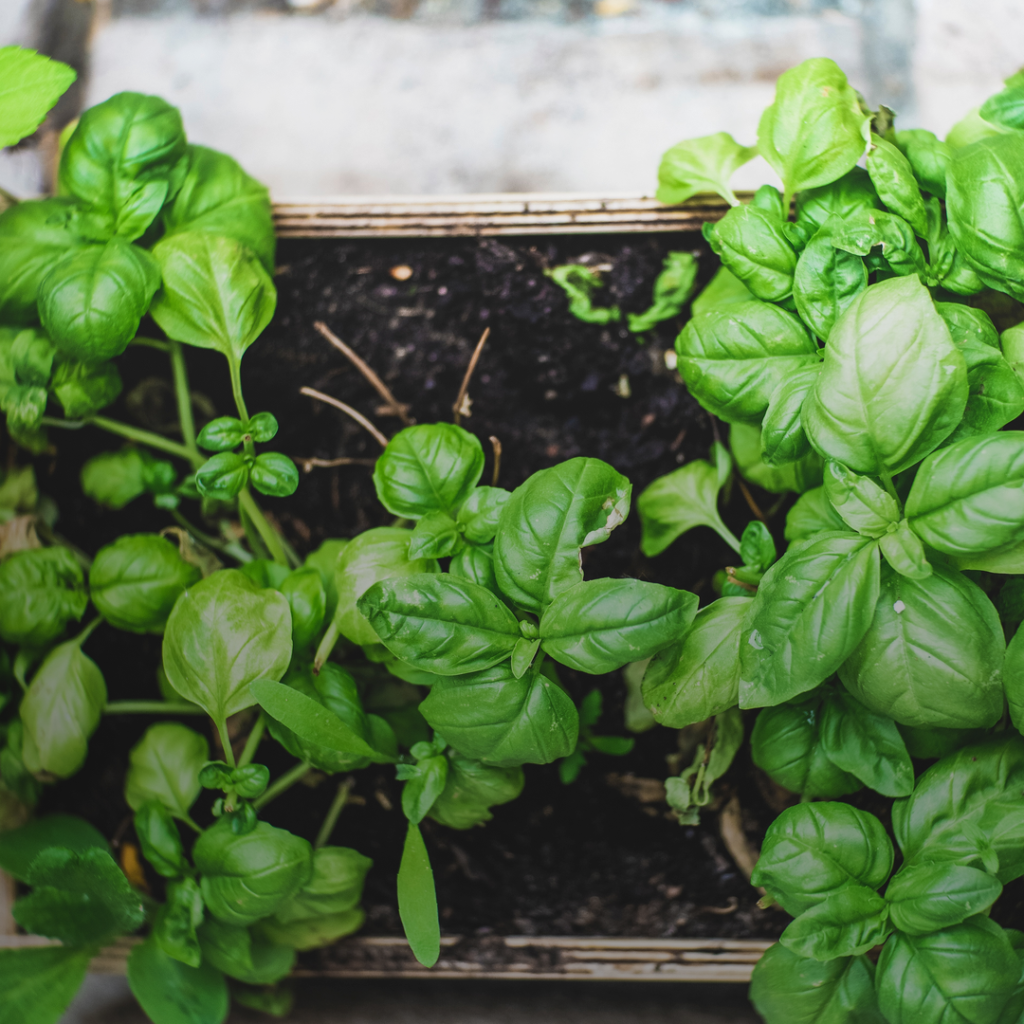
Basil and rosemary are some of the most popular herbs, but they’re also some of the most finicky. Basil has deeper roots, and therefore requires a larger pot that can accommodate them. Like most Mediterranean herbs, its soil has to drain well because it won’t survive in soggy soil or standing water. Basil also needs a consistent 6-8 hours of sunlight, and it likes to be kept out of the draft and at a steady 75 degrees Fahrenheit at all times. Also, try to keep in mind that basil typically won’t last long-term while growing indoors, so don’t get too down on yourself if you aren’t able to keep it flourishing. However, basil leaves root in water easily, so as long as you stay on top of replenishing your plant, you should have a steady supply!
Rosemary is a bit more flexible — although not by much. This herb still likes to have full, bright light, but prefers the temperature to be a little cooler, especially in the winter months. Try to keep them in a place that stays around 45-65 degrees Fahrenheit, like a drafty, south- or east-facing window. Also, take extra care not to overwater this one, and make sure that the drainage is excellent. This herb is very picky with its watering — you don’t want to let it wilt or dry out fully, but always test the soil with your finger to ensure it’s on the dryer side before you water it again.
Now, these conditions may not be entirely realistic for you, but you can try to create an environment that will most help your favorites grow. Don’t be afraid to switch things up if they’re not growing to your standards. Gardening is an experiment of trial and error!
A few parting tips
You’re going to want to make sure to plant each different type of herb in different pots, and it’s super important to label your herbs as soon as you plant them. Each herb is unique and may require different, special care. While it may be easy for those of us to differentiate our herbs once they’re fully grown, as seedlings it’s almost impossible to tell them apart.
Plus, sometimes it’s good to rotate your plants around the planter. If your plant is reaching for the sun, it’s likely time to turn the pot. Maybe your basil does best pushed right up against the window? Or your rosemary does better higher up and to the back? Or maybe it’s vice versa! See for yourself the best environment your herbs will thrive in.
I know these tips can seem overwhelming at first, but remember, gardening is all about trial and error. Don’t be discouraged if it takes you a few tries to get your plants to bloom. Take note of what works and what doesn’t in your apartment and with your growing style, so you can build your own foundation and go from there.
If you’re having trouble, there’s no shame in starting with sampler plants from your local grocery store! This way, you don’t always have to start from scratch and can get more comfortable with your green thumb before you dive headlong into staring at seeds or delving into any advanced techniques.
Please share your indoor herb garden with us on Instagram @RogueRamms, along with all the new recipes you try with your fresh, healthy, and flavorful herbs! We always like to see what new, fabulous ideas you come up with!