
After a long, scorching summer, school is finally back in session, and choosing your backpack is one of the most important choices you’ll make at the start of the year.
Not only is your backpack entrusted with carrying your books all year round, but it’s essential in showcasing your personal style! It’s the accessory you’ll have for the entire year, and you want to make sure you (and it) make a good first impression.
That being said, backpacks are expensive. The easiest way to navigate this is to buy a solid-colored backpack (or use one from a previous year) and style it up yourself! It’ll save you time and money — plus the environment will thank you for reducing your consumption!
Whether you’re a college student getting ready for their final semester or a first-time mom about to send their child off on their first day of kindergarten, here are some fun, creative ways to spice up your backpack game!!
Enamel pins & pin buttons
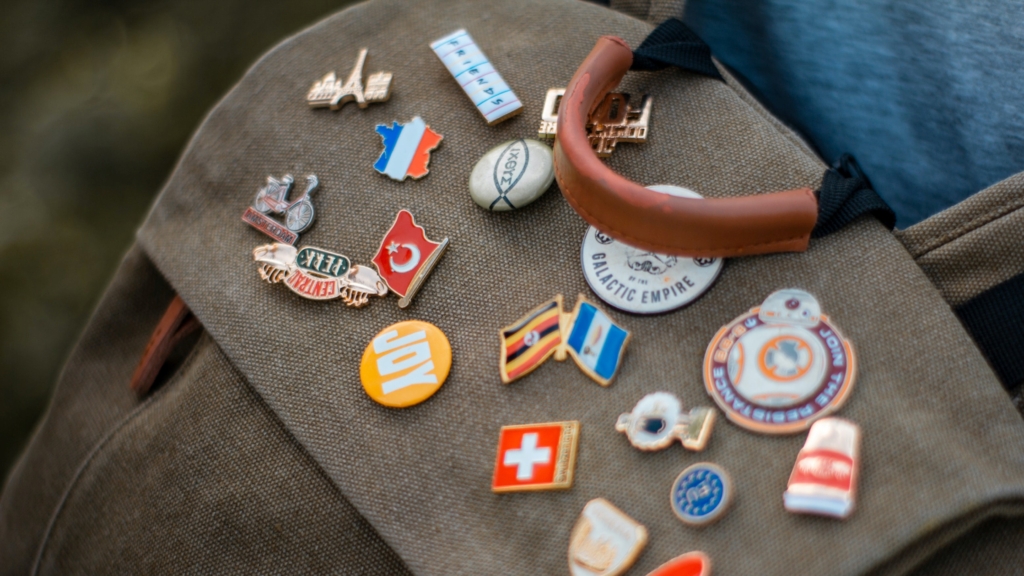
If you’re looking for the perfect way to showcase your personality, enamel pins or pin buttons are essential for your backpack!
They’re colorful, inexpensive, and extremely customizable! To say there are millions of different enamel pins and pin button styles to choose from wouldn’t be an exaggeration. From your favorite cuddly animals, binge-worthy shows, and every pop culture reference you can think of — there’s an enamel pin or pin button for that!
Let the world know which fandoms you’re a part of and where you stand politically. Enamel pins and pin buttons are meant to be worn loudly, proudly, and unapologetically! They showcase who you are and what you love. Another benefit? You can fit a lot on your backpack, so you never have to limit your choices!
Sew-on buttons
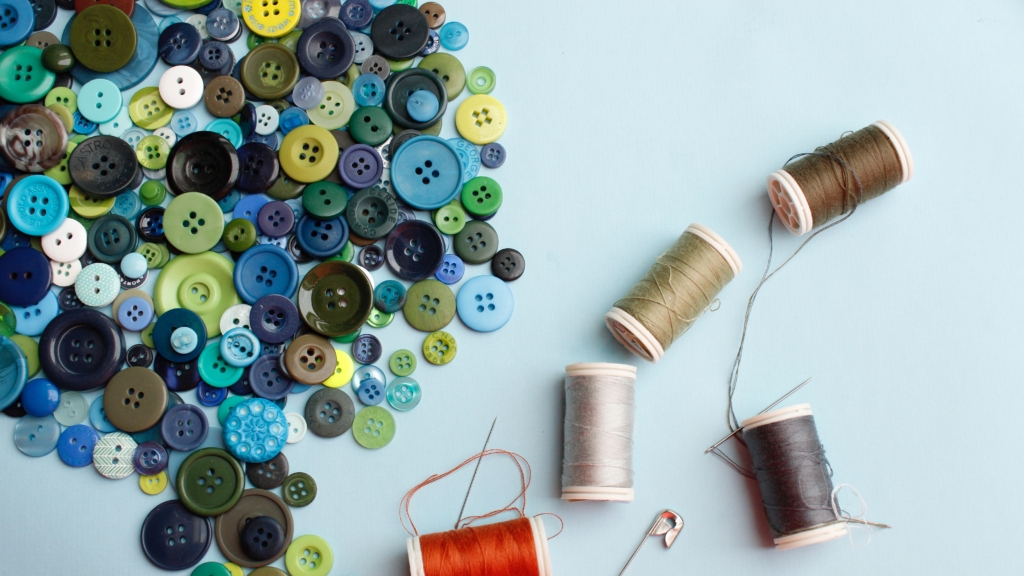
Alternatively (or in addition to pins and pin buttons), sew-on buttons add a cute, more sturdy touch to any backpack. They come in plain to totally unusual shapes and styles, and a great variety of sizes. Want a button of Jack Skellington for a Halloween theme? Joann’s has it!
If you aren’t much of a sewer, that’s okay! Sewing on a button is easy, and a skill that will come in handy when dealing with wardrobe malfunctions for the rest of your life. YouTube offers some great video tutorials showing you how to do it, or you can just ask around for a teacher — I’m sure one of your friends or family members have picked up the skill. You may want to practice on a spare piece of fabric before you work on your backpack, however. It may take you a few tries to get the hang of it, but once you do, you’ll be glad you learned!
You can keep it minimal with a few buttons here or there as an extra embellishment or create an artistic, original design with colorful buttons of all different sizes.
Iron-on patches
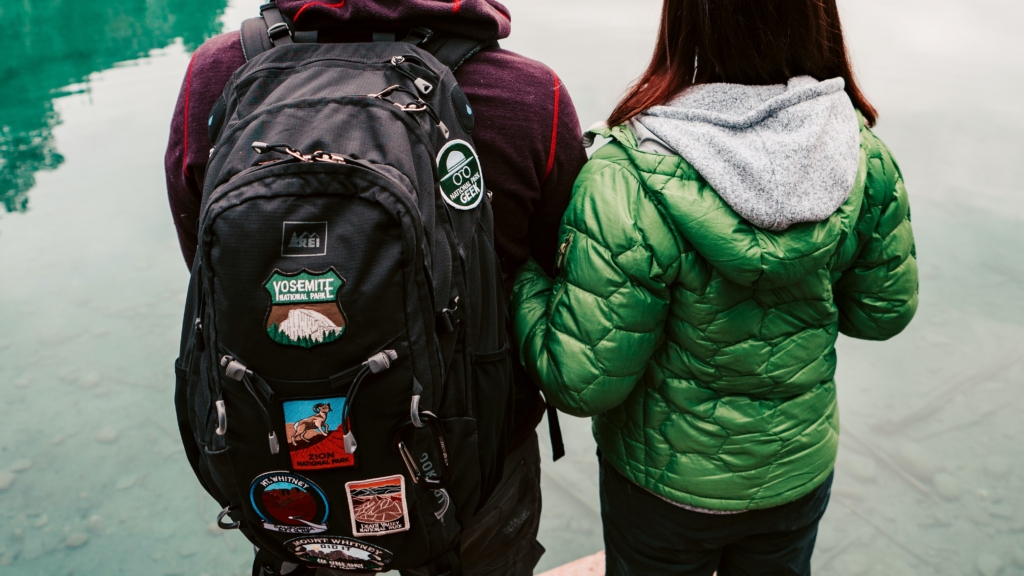
A huge trend in the ‘80s and ‘90s, iron-on patches are back, and they’re better than ever! They can be used similarly to the other ideas on this list, but they’re even more durable and secure. You won’t ever have to worry about them falling off or getting lost!
They are just as customizable too, ranging from the classics like your favorite bands or movie franchises to modern-day memes. You’ll find plenty of options to choose from, or you can even create your own patch design to be printed and shipped directly to you!
To get the iron-on patch onto your backpack is really quite simple. All you need is an iron. (I know shocking, right?) Place your backpack on a hard, flat surface (like a table or counter). Once you’re ready, carefully place the patch (glue side down) where you want it to be on your backpack, then put a pressing cloth over it (to keep the glue off the iron), and press down on it firmly with the hot iron for about thirty seconds (follow the directions that came with the patch for the exact time). Make sure the patch is evenly covered with the hot iron. That’s it! It’s really that easy.
Try to avoid using an ironing board when applying your patches. It has too much of a cushion, and the patch may not stick correctly! Any standard surface not too sensitive to heat, like a counter or tabletop, will work instead — but use a folded towel to protect the surface, anyway, just in case.
Keychains or charms
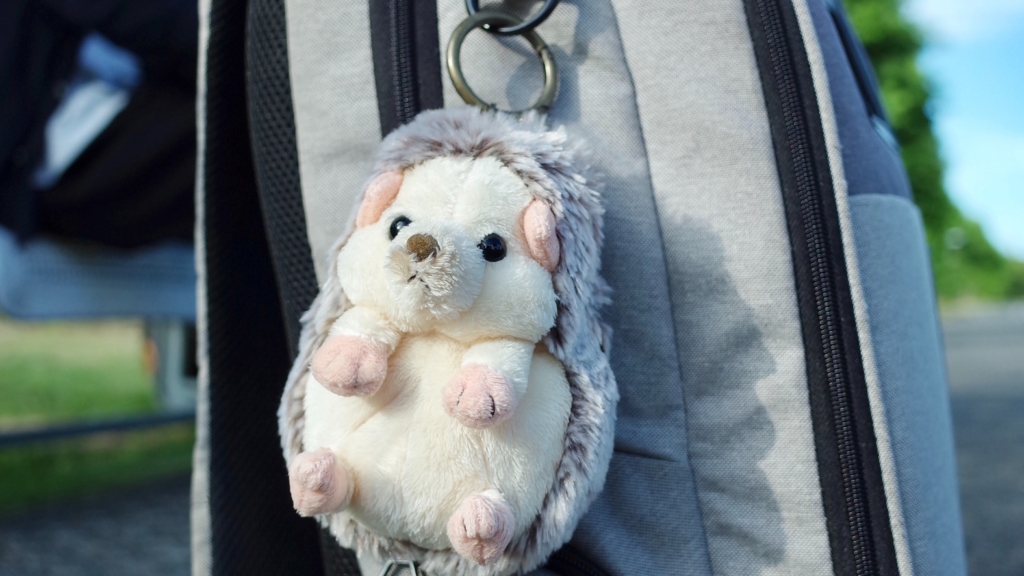
Keychains are a classic collectible whenever you’re traveling. Whether it’s a reminder of your favorite place or a wacky depiction of your favorite character, keychains make for the perfect, dangly souvenir and a great addition to your backpack!
The easiest way to secure the keychain would be to slip it through the hole in the zipper pulls on any of the pockets. Keychains are usually a bit bigger, so you don’t want to load your backpack with too many of them — but one or two here and there make for a unique, personal touch that’s sure to bring a smile to your face throughout the day.
You can even add a keychain with your name on it! That way if your backpack ever gets lost, whoever finds it will know just who it belongs to.
Sharpie designs
Calling all secret artists — sharpies are bold, beautiful, and their ink stands out really well on backpack material. They come in a wide assortment of colors and thicknesses, allowing you to incorporate fine and intricate or bold and beautiful details in your designs.
They allow for full creative freedom! You just have to embrace your inner artist, and (most importantly) have fun with it!
The one downside of sharpies is their permanence, so you may want to sketch out your design on a piece of paper before trying it out on the real thing (or even on the backpack itself if the pencil will show up!). If you do make a mistake, don’t panic! Just go with it. Maybe it’s a happy little accident! If not, you can cover any mishaps with a different design, or one of the other style suggestions, like a button or some rhinestones.
Washable Marker Designs
Washable markers are the perfect companion to the indecisive or to those of us who aren’t artistically inclined. While their ink isn’t as bold as sharpies are, they definitely have their perks and come in just as many funky colors!
Unlike sharpies, washable markers aren’t permanent. You don’t have to stress about a stray line or making sure your shapes are perfectly proportioned. Any mistakes can be cured with little water and a rag, and you don’t have to be married to any particular design.
If you’re craving a change or are simply bored with your backpack’s current design, you can always wash it off and create a new one! You can put your designs on rotation to go with the seasons or make it a fun project every month that you can look forward to. Keep in mind, however, that a good rainfall may alter your design — or wash it off completely! Be ready to make adjustments as needed or retrace any designs that have faded away.
Washi Tape
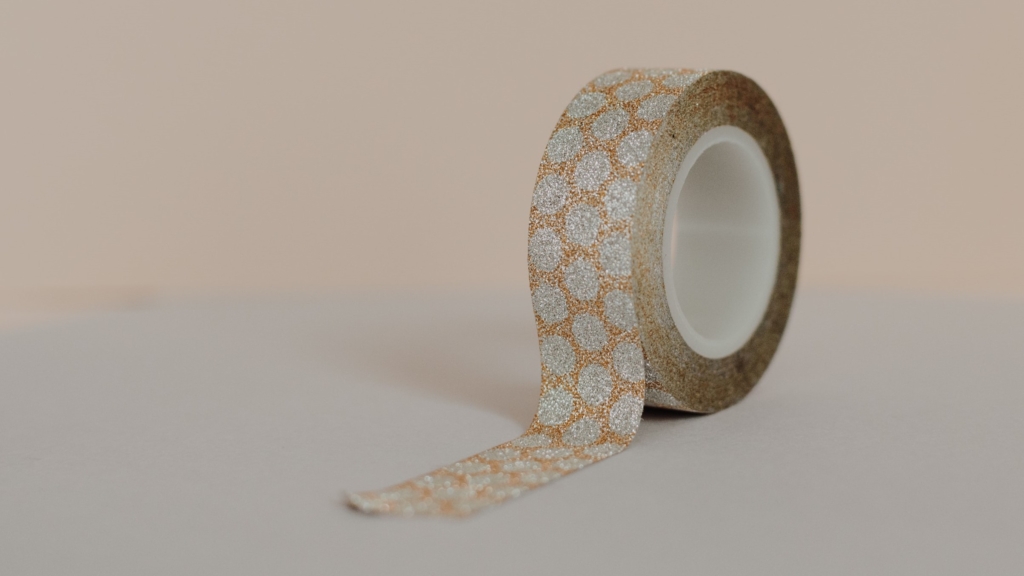
Washi tape is a colorful and pretty adhesive crafting tape that’s beloved for its ability to stick to just about any surface — making it the perfect way to incorporate a flash of color or an intricate design without having to draw it yourself!
Washi tape is affordable, and with their cute, trendy designs, they add a touch of whimsy and joy to your backpack’s style. It won’t stick forever, but you’ll be ready for a new design creation by the time it starts to get a little loose.
The best part about washi tape is that it’s easily removable, without damage and without leaving behind any sticky residue. This way, you can feel comfortable mixing up your look every now and then or adding any extra embellishments, as you see fit!
Sparkles and bows
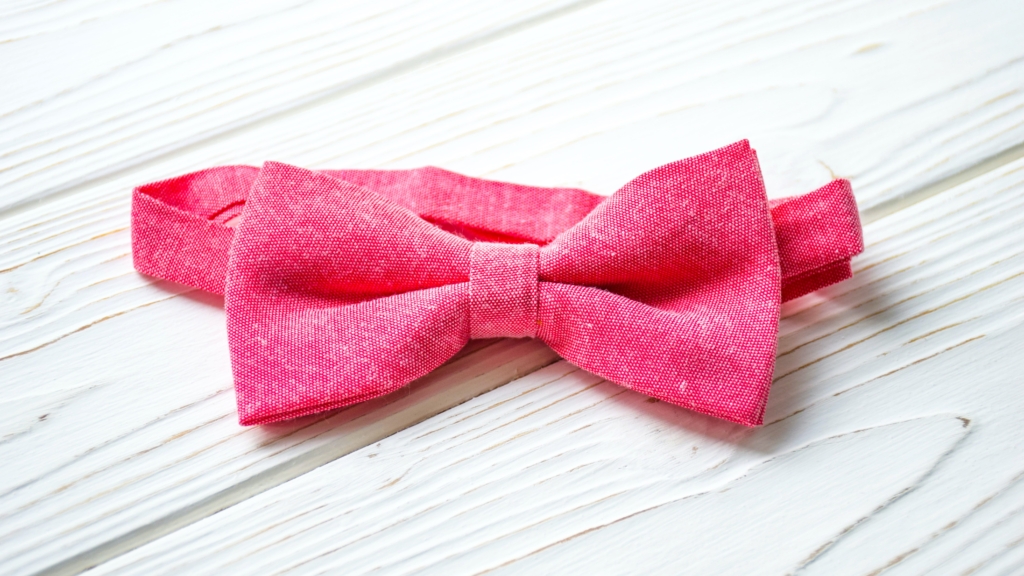
If you’re looking to give your backpack a cute, feminine look, rhinestones and bows are definitely the way to go!
You can find all types of ribbons, bows, and gems at your local craft store that feature different colors, designs, and styles. Glam up your pack to your taste — use as many or as few rhinestones, ribbons, bows, or studs as your heart desires.
Now may even be the time to bust out your old bedazzler, if you still have it! This late ‘90s, early 2000s trend is making a comeback, and what better way to show off your bling than on this essential accessory?
Embroidery
Embroidering means to stitch a design (freehand or stenciled) onto a piece of fabric — in this case, your backpack fabric. I know it sounds intimidating at first, but the skill is actually a lot easier to pick up than you may think! And if you make a mistake, you can just take it out (gently, of course).
If you don’t feel comfortable painting or drawing straight onto your backpack, embroidery is a great way to incorporate your own designs! Or if you need additional inspiration, you can use any image from the internet. You just have to print it out, grab your needle & embroidery floss, and get to work.
It may take you some time to learn the different types of stitches, but have faith in yourself — and find YouTube tutors! Humans have used these skills for hundreds of years. After some practice, you’ll get the hang of it, and you will be so proud of the work you create once you do!
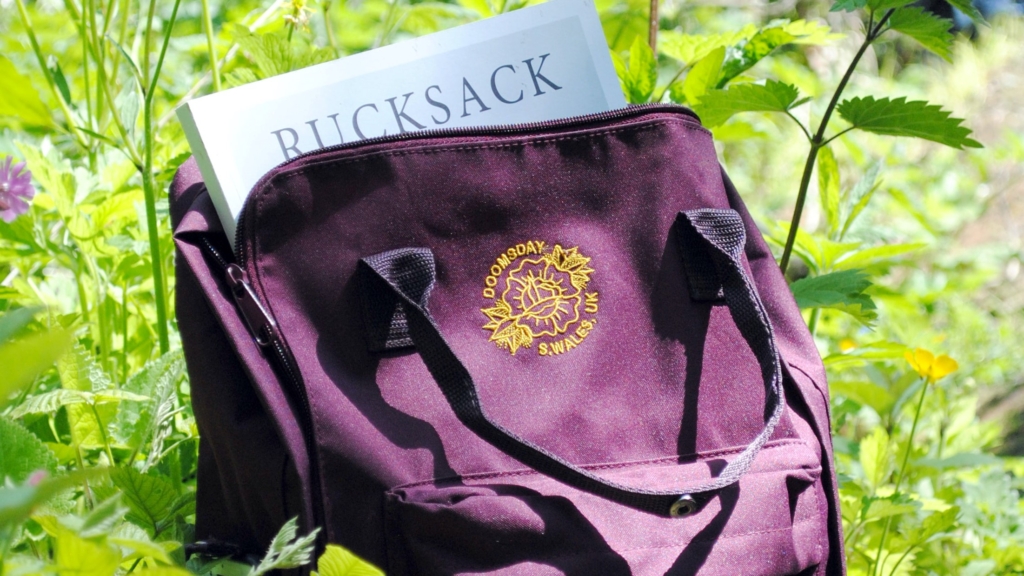
These ideas are only the beginning. You are much more creative than you give yourself credit for, so don’t be afraid to go above and beyond this year, trying as many different designs as you’d like!
After you’ve tricked out your backpack for school, share your pictures with us on Instagram @rogue.ramms!
We always love to see what wonders you create!
